EDUCATIONAL 3D ANIMATION
CLIENT
Faculty of Medical Sciences, University Medical Center Groningen
THE CHALLENGE
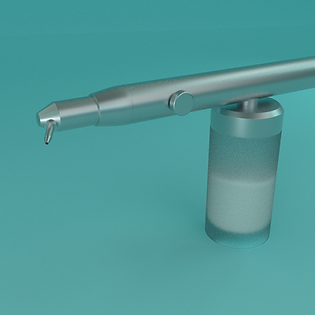
Conditioning restorations is a widely used procedure in dentistry, but it's not always easy for dentistry students to understand how it works at the molecular level. The goal of this project was to create a visual resource that explains not only what steps to follow when performing this technique, but also what is going on on the surface of the tooth at the molecular level.
THE PROJECT
We chose to create an animation, since it's a great way to illustrate processes that happen in a series of sequential steps. It also gave us the opportunity to work with the zoom to create the effect that we are sometimes seeing the tooth at the molecular scale. The animation was designed with minimal labels, so that it can be used in a presentation or classroom while the lecturer is speaking. Alternatively, a voiceover can be added for individual study.
© Copyright University Medical Center Groningen
BEHIND THE SCENES
Creating a 3D animation is a long and complex process. It's important that the workflow is very clear and that everyone is on board with every step.
The first step is to create a script: a text that describes everything that will happen in the animation, step by step. That way, we make sure all the key information and learning points are present before we continue working.
Next, we move on to the storyboard. The goal of the storyboard is to divide the script in scenes and roughly illustrate what is happening in each one. We can check if the story is easy to follow and decide what views we want to show on the screen. This is also the time to look at the composition of each scene and the colors of the different elements.

Once the storyboard is approved by the client, the 3D models are created and animated. At first, only raw animations without materials are made to make sure the overall animation flows correctly. Then, the objects are rendered with materials to achieve the final look.


After that, everyhing is put together to create the final 3D animation. Labels, zoom effects and text are added on a different software to complete the animation.
Would you like to create custom images for your education?
Explore other E-Learning projects


